Showing posts with label building. Show all posts

Wednesday, February 25, 2015

Building a Hanging Quilt rack

I really enjoy working with wood.
I have very few tools.  You really don't need that many as long as they are working.
I really like the look of old quilts on old ladders. I also know what would happen on a daily basis if I displayed an old ladder in my living room.  It would be stripped of its quilts and climbed continuously.  I decided to make a hanging rack and take the temptation of climbing away.
A few lovely quilts that were created by my great grandmothers are in different stages of cleaning and mending. I look forward to the day they can all be displayed. I started creating this months ago so we have an easily accessed storage place in our living room to use them.

Materials Used:
9ft. piece of Alder wood (I cut pieces off for another use and this piece was used as a toy car ramp for my boys for awhile)  I cut 2 pieces that are each 33" long. And one piece at 17 1/2".
2,  3/4" dowels that were 36" long ( I cut with my tree loppers) to 18" long for 4 pieces.
3/4" drill bit
6 screws at least 2" long.
Drill bit same size of screws to pre-drill on brace piece and in wall
wood glue
sandpaper
measuring tape or level
wood clamps


This is pretty easy to make but some Math needs to be done along the way. And as straight as cuts as possible.  You can see in the finished pictures that my middle brace of wood did not have a straight cut.  I wasn't bothered because when covered in quilts it will not show. 

1. Cut all your pieces to your desired length.  You could easily make this longer but it would need another brace to hold the weight of quilts.

2. Measure 3" down from top and make a pencil mark 1" in from front.  This will be your first drill hole. Then continue 8" down and 1" in until you have 4 drill marks.

3. This is the trickiest part:  You want to drill all of the holes the same depth (1/4") so when you put the piece together your dowels will be held in the holes and the side pieces will attach to the brace evenly.
If your side brace is 17 1/2" and your dowels are 18" wide you have 1/4" on each side for this.
The easiest way to measure is place a mark 1/4" up from the bottom of a dowel and put it in each hole to measure.  Be careful and stop to measure before you make it too deep.

4. Sand all of your pieces well.  Wipe with a damp cloth.  

5. Drill two holes in each side piece and in brace so the brace is about 5" down from the top.
Attach one side piece to the middle brace with screws.

6. Apply wood glue to holes on one side. Place dowels. Then add glue to end of dowels and place other side piece on top.  This is a bit tricky.  When all are in place put wood clamps on to hold firm.

7. Place screws into other side piece into the middle brace.

8. Now make two marks in your back brace for hanging.  Find the center and measure 8" to each side of that and make a mark.  This is where you will drill a hole to mount the piece on the wall.  They are measured 16" apart so that you can put each screw into a stud.  (all studs should be 16" apart, if not adjust to your home).

9. Finish with Stain or Paint. 
(At this point I hung it on the wall and waited.  I was planning to paint.  I was not sure if I wanted to stain or paint the wood.  Months later we decided on the wall color with white trim. Therefore I painted the rack white to match the trim.)

10. Hang quilts and enjoy how easily they can be used and put away.


Before painting

Taking a break after painting quilt rack and shelves.

With Blue walls and White rack


Thursday, May 2, 2013

Chicken Coop Remodel

For the chickens we love, Sammy and Soma:

We were given our two chickens, the coop, and the run last fall. I am so grateful that our friends gave us these to get started.  There is nothing like just doing something to see if you can.  The financial investment can be very daunting.  My friends removed this problem and enabled me to see that I can add chicken keeping to my life.  We have been caring for these two girls for 5 months in a stationary pen, while letting them out to roam in the yard when we are out and about.  But roam, chickens do well.  Ours, love to venture over into our neighbor's bird feeding area.  My little herdsmen are very good at chasing them back home or just picking them up and carrying the chickens back where they belong, but it can not continue for good reasons. 1.The disease that could be passed from wild birds. 2. Good Neighborly conduct. 3. If they venture a little further in any direction there are many large dogs just steps behind an invisible fence.

I have been dreaming about this Coop remodel all Winter.
I love to see the beautiful coops in the Williams-Sonoma magazine. I wanted the tin roof from one and the beautiful green paint from another.

I am also an avid repurposer.  I believe that if you have something that works well, but doesn't look so good anymore, it is your responsibility to make it more beautiful and functional  So many things just get tossed after they no longer look new! (Hence, the chair in the yard, great frame but needs a new seat!)

Therefore, we took what we were so graciously given and improved upon it.


loving Sammy

Winter coop
 It was very difficult to give the chickens kitchen scraps and fresh water before.  I had to pull a piece of chicken wire back and then clip down and weight with glass.

Winter run
 We decided to paint one side before Grandma and Grandpa's arrival


 My father saved the wheels and axles from our childhood double stroller. We built a frame for them and placed them on the bottom.


Then I wanted to add more space for a taller roost and more chickens.
We cut three pieces of plywood for the roof expansion and added a window.  We then trimmed the edges of the roof frame to make it smaller and more lightweight.
A new door was cut in the center for the run door.  The old door will be for egg collection by my little helpers.  It is just there size.  Actually a little too perfect because they both crawled into the coop with the chickens when Sammy and Soma went inside to check it out!


 We then reinforced the run, added 2" x 4" welded wire to the bottom, and attached it to the house adding and old screen door as the roof of the run so that I can easily get inside.


 We still have more hardware (hinges and hooks) to add and a little more paint.


Cost:
Tin Roof: $25.00 (+ $14.00 for wire snips to cut roof in half on the floor of Lowes so that I could fit in car)
Green NO VOC paint: $30.00 (This will also be used to paint garden gate, trellis, and cold frame)
nylon rope: $1.00
Scrap Plywood from Dad: Free
4 wheels on axle with frame from Dad: Free
Coop base and run with chicken wire from friends: Free
hardware cloth for window and a piece on run: $12.00 (with a lot leftover for other purposes)
2" x 4" x 10' welded wire fencing: $6.00 (I took 10 ft off the roll before I put up my garden fence)
tie wraps, screws, electrical staples: free from my father's collection of hardware

Total Cost: $88.00
(Williams- Sonoma Coops $1500)


Saturday, April 13, 2013

Pea Gravel Patio

I have been in my own little bubble lately.
Or in other words, I have had a project that I wanted to finish.
This time it is the pea gravel patio I have been thinking about all winter.
I priced quotes through the winter of pea gravel, landscape timbers and figured I would spend about $200
on this patio.  That was too much.  I also redesigned to get materials that I could fit in my old Jetta.
So to save a $40 delivery fee, I decided to gather my own pea gravel four 5 gallon buckets at a time. $6.00 for 4 buckets. We put 15 buckets of pea gravel on the patio, approximately $22.00
And I spent $18 on 18 pavers.

So with maybe $10 in gas (the hardware store in 6 miles away x 4 trips). I made a patio for $50.

I needed to power wash the wall and rake away the soil, before I put the pea gravel down.
But after that, the boys and I hauled pea gravel and one load of pavers.


We just need to paint the wall and add a new bench and plants, and hopefully a rain barrel.
It withstood a heavy rainfall.  Before this would have been a small pond.


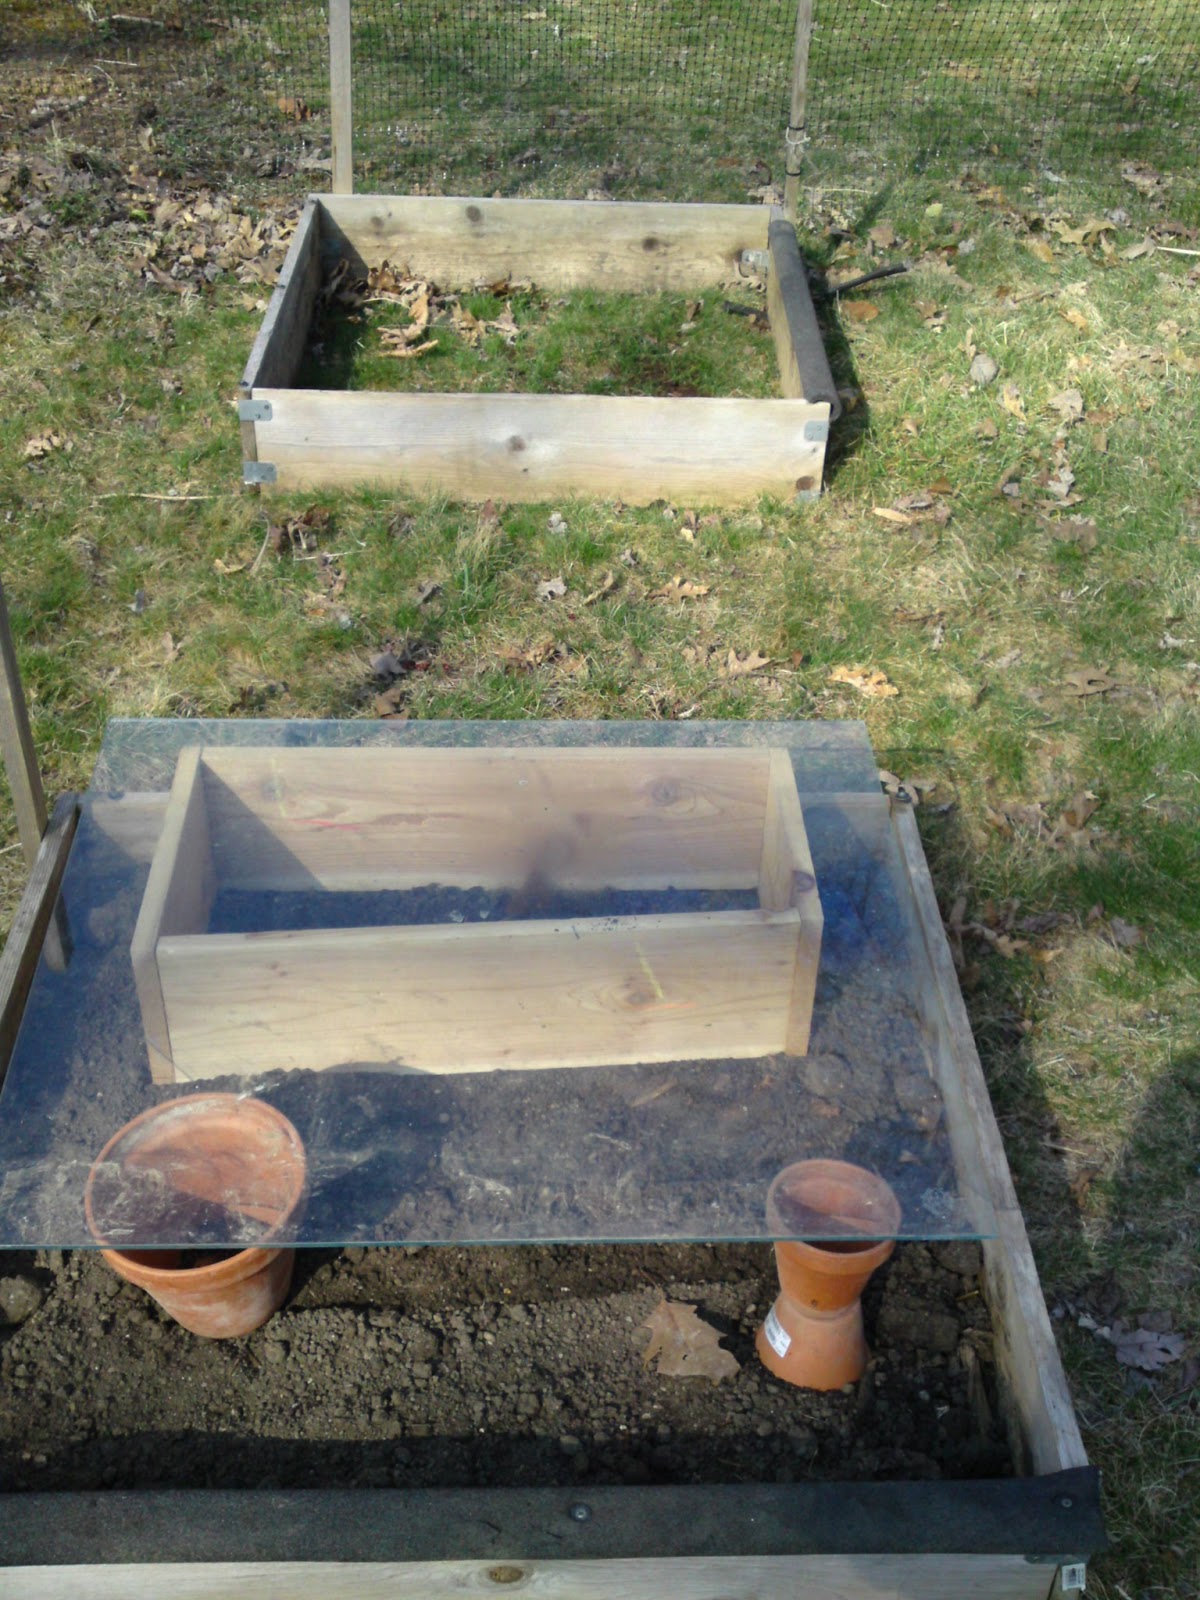
We also moved our raised bed garden from the front yard to the back yard.
I moved leaf compost and soil by the 5 gallon buckets too.
I moved about 9 buckets of leaf compost and 15 buckets of soil.


So I guess it makes sense that for 2 weeks I fell asleep at 8pm and slept till 8 am.
The rain was a welcome break.

Sunday, October 7, 2012

Clothes Display from Grandpa's workshop

I have had this idea to make a rack for clothes at craft fairs.
It had to be able to hold long sleep sacks and short vests, plus if it could come apart even better.
I love making things with my father.
I can tell him my idea, show him a sketch, and he grabs enough scrap wood to make it come to life.
He also always improves on the idea!

On this afternoon, Grandma was at an appointment, littlest guy was sleep, and big brother was ready to play with Grandpa's tools and sand with a sanding block for the first time.  With the monitor on the workshop wall, my father and I worked together without too many interruptions. Somehow the stars aligned and we finished the project in one afternoon apart from another coat of paint.